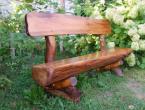
How to sew a teepee for a child's room
you need
● Colors and solid color fabric● Stitches or braids
● Volumenflyz for the base and flizofiks for applications (read about how to work with spacers in )
● Three wooden poles with a diameter of bl. 2 cm, length approx. 2 m
● Suitable sewing threads
● Pins ()
● Knife()
● tailor's crade ()
● Peaceful strіchka ()
● Trikutnik
● Plivka ()
● Marker for swimming ()
Description of robots
Krok 1: cook vikryki
For the base, cross on the plait a equilateral tricot from the back side of 120 cm.Krok 2: micro details for the base
Prick the details from the plait onto the fabric. Add seam allowances on all sides with a width of 1.5 div.● Substantiate vikroїti from fabrics 2 times for volumenfly 1 time.
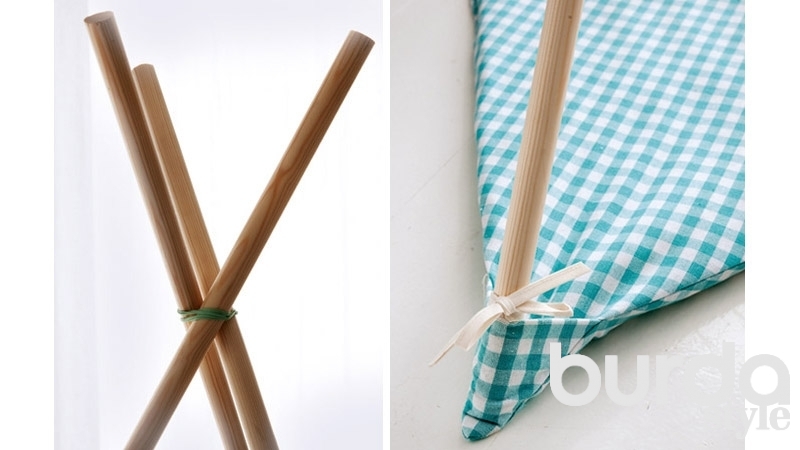
● W fabrics for fixation of fingers - div. photo below levoruch - vikroїti 3 squares with a size of bl. 10 x 10 cm, fold them diagonally.
● Weave 4 knots to tie with a tie of approx. 15 cm and 8 cm wide, finished looking 3 cm wide.
● Cut 3 braided inlays for edging the entrance at the wigwam.
Krok 3: sew the base
Purely vitochuvati ties, zalishivshi v_dkritim one end.It is necessary to be purely visual, if you want to add volume, squares, folded diagonally and 2 lines-strings.
Krok 4: sew the walls of the wigwam
Vikroїti 3 sides (walls of the wigwam). On the two sides, patch the guts, behind the bazhannya on the guts, before stitching, patch or stick appliqués. Applications can be used to embellish the walls of the wigwam, for example, according to the descriptionOn the front side of the vіgvam vikonati there are two slits in the lower edge under the hood so that the entrance can be downloaded into a roll (div. photo of the model). Look at it purely with a slanting inlay for the description at the master-class from the basics of a bakery. From two sides of the entrance, sew on ties (div. photo of the model).