Do-it-yourself ottoman pokrokovo
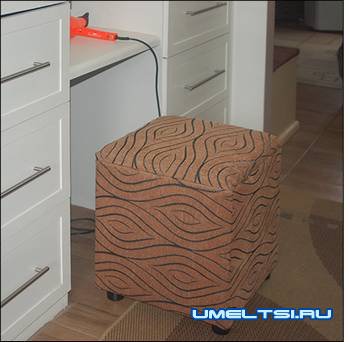
I will describe the master class, how to make a soft pouf with your own hands, to make it fit under the dressing table. The top of the tray can be removed and you can save any accessories and tools for styling your hair. For my squad, I became simply irreplaceable.
I’ll tell the childish verse: “Tse Olentsy is seen that she took luggage on the spot, only ..." the axis is like that and my team is no longer on the spot of their perukarsky pristosuvannya, after that, as they were koristuvalas (won to rob the packing at home) all lie down de Axis I and vyrishiv robiti їy pouffe for picking up Perukarian tools, on which it would be possible to sit handily at that hour, as if to work on a zachіska.
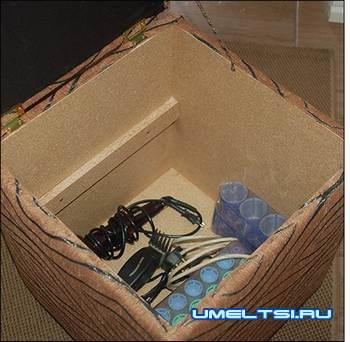

In the middle of the pouf I zrobiv at two equals. The lower part has been expanded more, the upper tray has two holes, you can put the tools of the first need there.
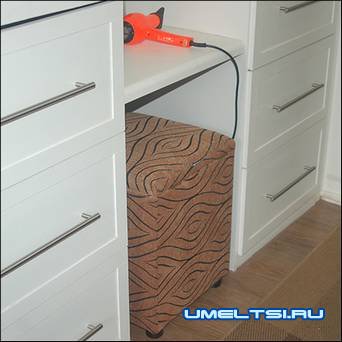
Having made the height of the pouf such that it would be easy to sit in front of the mirror.
If you don’t need it in a pouffe, you can put it in a pouffe no matter what.
What do we need to make a pouf with our own hands:
- 4 pieces of chipboard 400 x 400mm with a thickness of 16mm - front / back, top and bottom wall;
- 2 parts made of chipboard 368 x 400mm with a thickness of 16mm - sides;
- 3 x 50 x 16 mm 368 mm (chipboard) - base;
- 2 pieces 260 x 360mm 12mm - front/rear container;
- 2 pieces 260 x 336 mm 12 mm - sides of the container;
- 1 piece 248 x 336 mm 12mm - a lanka for a bottom to the center of the container;
- 1 PC. 336 x 336 mm 12mm - main container;
- Guinty 50 mm, small kolіshchatka and Guinty 16 mm;
- 2 stick loops and 16mm and 30 mm guides;
- 2 meters of thin fabric;
- 1/2 meter of lining fabric (you can use extra quilting, which is left out of your main fabric);
- 2 meters of thin synthetic winterizer;
- PCS. 400 x 400mm thin foam on the top of the pouf;
- stuck on the straps;
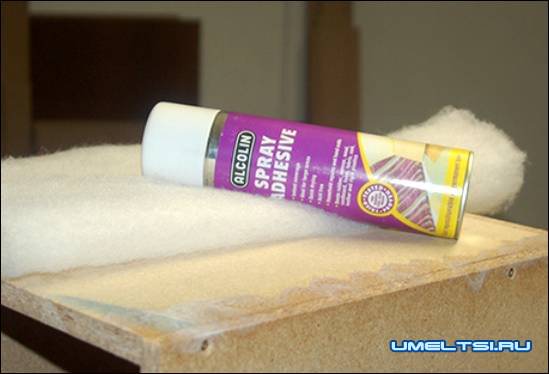
- glue, scho rozporoshuєtsya;
- 4 x 30 mm guinti 20 pcs.
Tools:
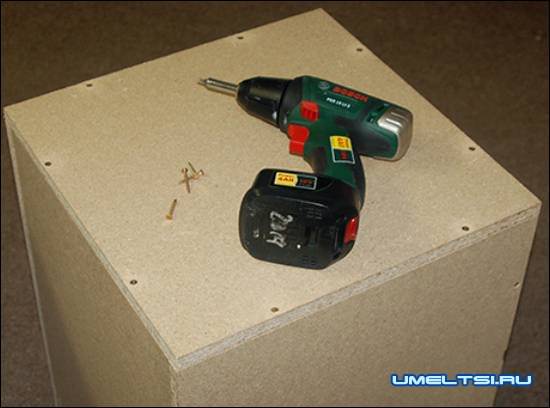
- electric drill;
- stapler;
- kutovі zatiskakhі;
- Roulette.
Hіd roboti - do-it-yourself ottoman maister class
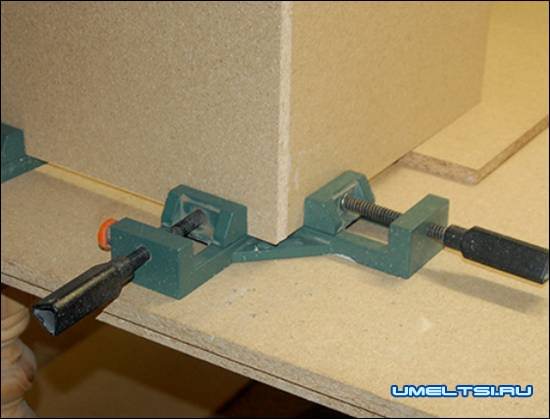
1 . Take the sides of the front and back parts to create the shape of the box. If you have special victories, you can beat them.
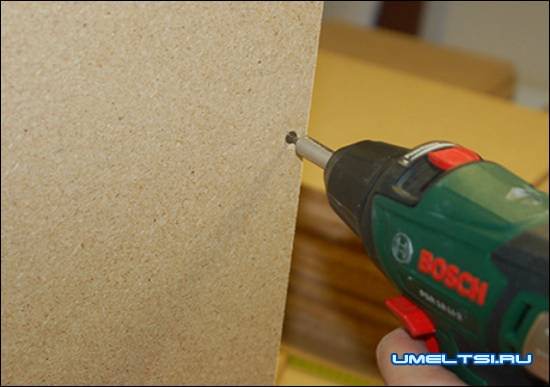
2 . Drill 3mm direct openings - 2 at the bottom from the skin side of the anterior and posterior
3 . Close the base up to ramie with twines on the skin side.
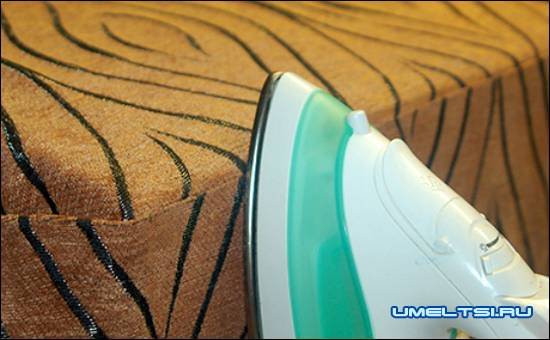
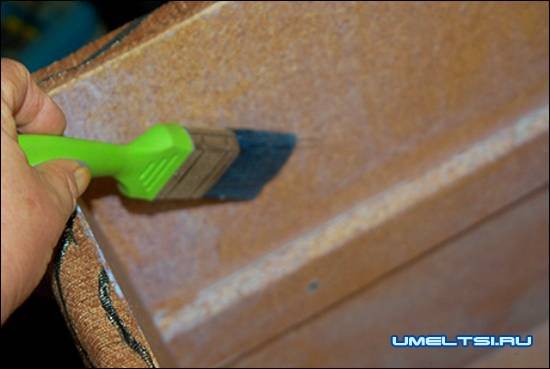
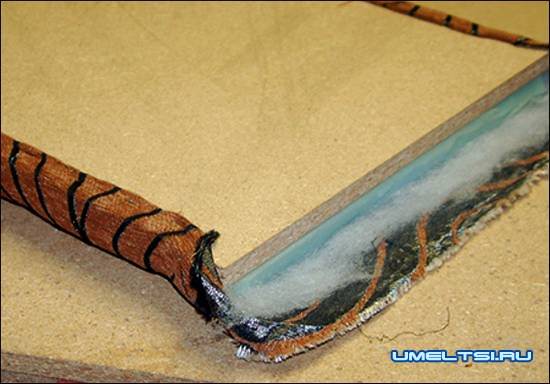
4 . Vіdrіzhte shmatok sintepon, schob wrap around the sides of the box, leaving a trio of bunting at the upper and lower parts. Close one tip of the synthetic winterizer to the box, vicorist glue at the sight of an aerosol.
5 . Zapravte kinets, and then wrap the synthetic winterizer around the box, to attach another kinets in the same rank. All zayve vіdrіzhte, so that there were no inconsistencies.
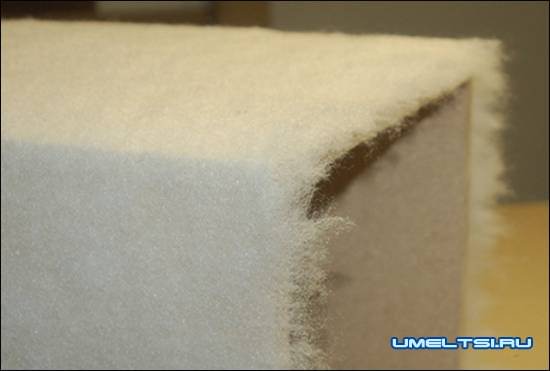
6 . Pull in excess padding polyester at the upper and lower parts. You need only a thin ball, so that you can help the guests of the kuti, as if they could tear the fabric.
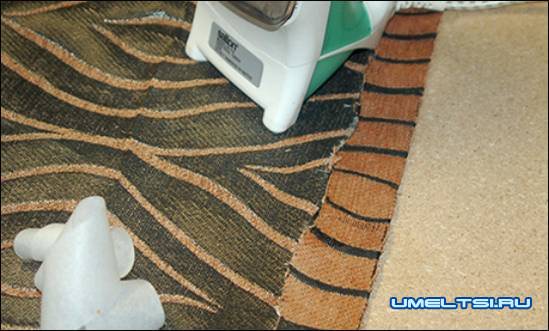
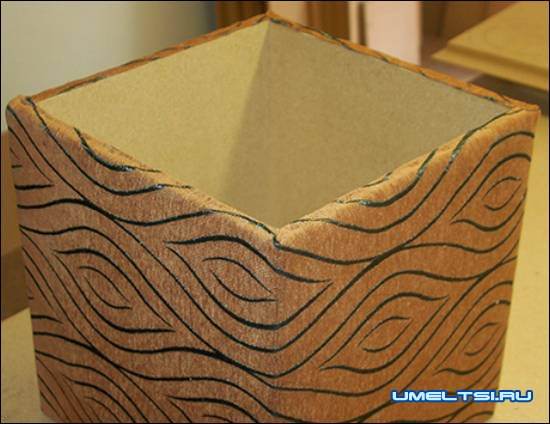
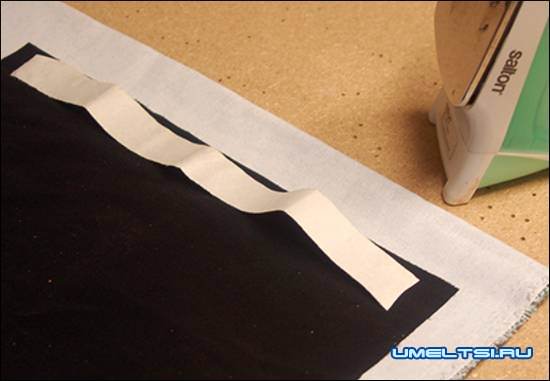
7 . Fold and attach one piece of fabric to the wooden base of the frame. You need to fasten the fabric in the main areas closer to the top, at the bottom of the center for the finishing of the fabric on the area. Turn the pouf to wrap it with fabric, having changed, so that the fabric is trimmed at the top and at the bottom.
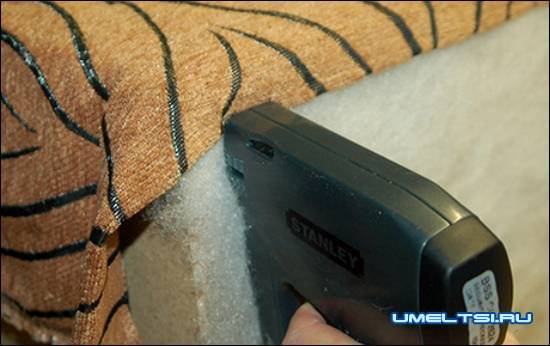
8 . In addition, as you know for sure, it is necessary to cut the edges of the fabric, so that the edges are twisted, the excess is creased, but with an eye on the virgin. The fabric can be stapled if needed.
9 . Having messed with the fact that the fabric is folded from the edge of the box, if not, then everything is corrected, only you can figure out that the pouffe is finished.
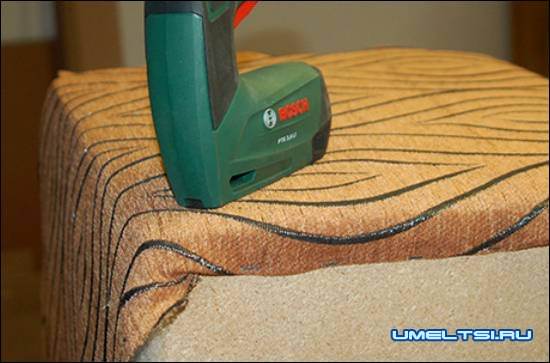
10 . Now you can start to fold and crimp the fabric to the base of the box. We start from the center of one side, and then we move to the opposite side. Repeat the procedure for the other two sides. With a hand, smooth the fabric, go to the center to the kutіv and zupinaєmo approximately 50 mm from the skin kut, so you have enough space to turn the kutіv.
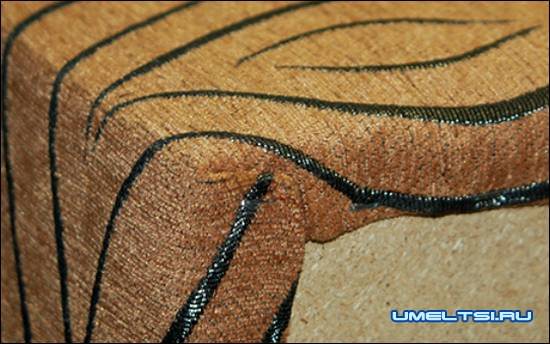
11 . The top edge is also folded over and wrapped to fasten the fabric to the top edge. Well, I know, we start from the center straight along the ridges, filling up space for storage and refueling the kuti, so that the dressing looks neat. Gently, with a hand, stretch the fabric uphill and on the sides, to smooth out any unevenness.
The axis is such a curbstone.
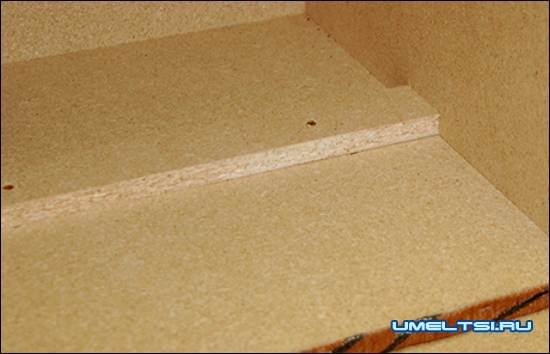
12 . Measure in the middle of the box 280 mm and fasten for an additional screw bar. This will be the support of another container.
13 .The container can be made both from chipboard with a thickness of 12mm and 16mm. Take the box as shown below.
Having fixed the handles on the container. It’s not obov’yazkovo, but all the same, glue them behind the help of epoxy glue, so it’s like a gvinti too old.

For the middle box, you can bulo miti, put a sprat of balls of acrylic farby.
Go to the top lid of the pouf
.1 . We upholster the upper cover with synthetic winterizer and foam rubber and fabric. Pryzaemo the edges of the synthetic winterizer, to change the fit.
2 . Starting from one side, zlazhuyemo fabric and krіpimo - starting from the center. Zupinyaєmos close to 100 mm from the kutiv, so we can fill the kuti well later. Let's move on to the opposite side, and then repeat the process from the other two sides.
Do not pull the fabric too tight if you creak the opposite sides.
3 . Lack of kuti, gently zagortaemo.
4 . In order to attach a small piece of fabric at the bottom under the lid, you can vicory a piece of lining fabric, knitted behind a rosemary (with this method you can vicorist and upholstered fabric).
5 . We burn the loop to the base, for which we need a small twist. Robimo at the fabric, open in front of him how to attach loops to the lid with 16 mm screws and to the base for additional screws 30 mm.
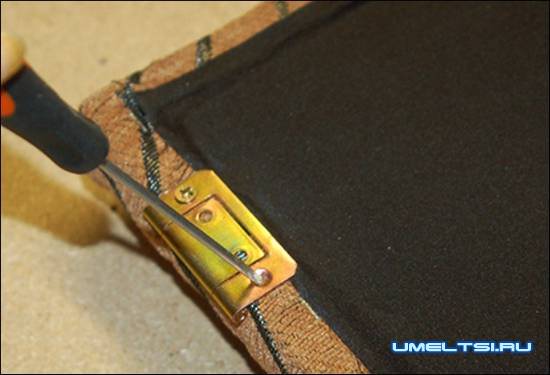
I’ll tell you in good faith, it’s easier to fasten the loops to the lid, and then to the body of the pouffe.
Loops hang on the edge of the board. If the stench is installed otherwise, the lid will not close.
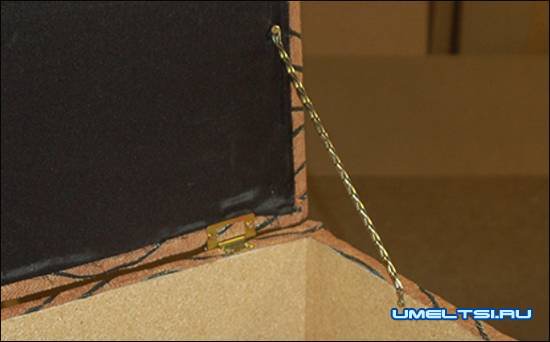
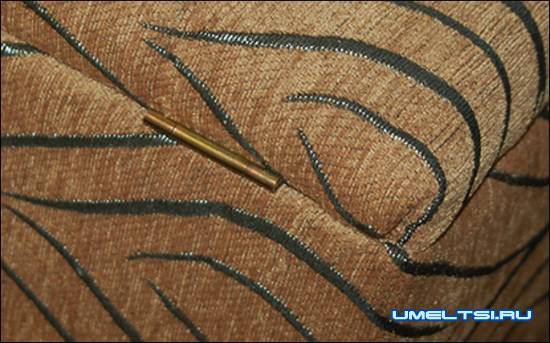
Note: to fix the lid from the top of the lid, I attached the lanyard to the top of the lid and to the body of the pouffe.
On the rest, I attached 4 plastic legs to the base for additional screws 50 mm.